
How can I properly clean my paintbrushes after each painting session
Properly Clean Your Paintbrushes After Each Painting Session
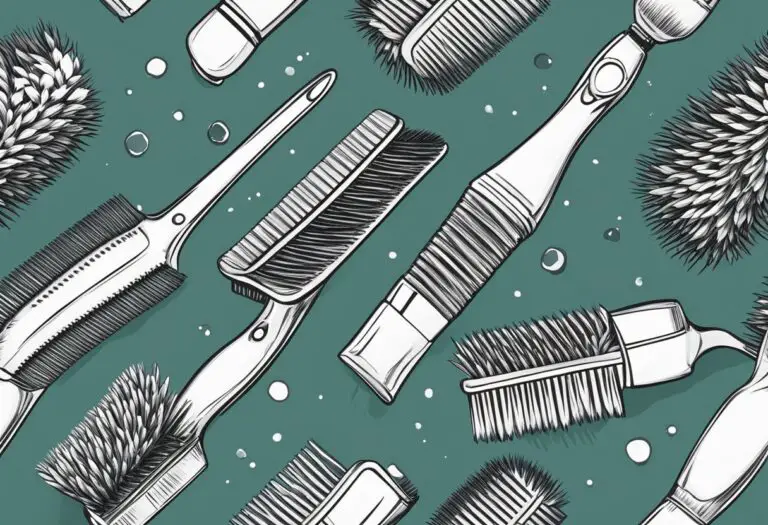
Painting is a wonderful hobby that allows individuals to express their creativity and emotions. However, it is important to maintain the tools used for painting, such as paintbrushes, to ensure their longevity and optimal performance. Properly cleaning paintbrushes after each painting session is crucial to maintain their quality and prevent them from becoming stiff or damaged.

To properly clean paintbrushes after each painting session, the first step is to remove excess paint from the brush. This can be done by wiping the brush on a clean paper towel or cloth until no more paint comes off. The next step is to rinse the brush in warm water and gently massage the bristles to remove any remaining paint. It is important to avoid using hot water, as this can damage the bristles.
After rinsing the brush, it is recommended to use a mild soap or brush cleaner to further remove any remaining paint. The cleaner should be worked into the bristles with gentle circular motions and then rinsed thoroughly with warm water. Once the brush is clean, it should be reshaped and allowed to air dry completely before being stored. By following these steps, individuals can ensure that their paintbrushes remain in optimal condition for future use.
Understanding Paintbrush Types and Materials

Natural vs Synthetic Bristles
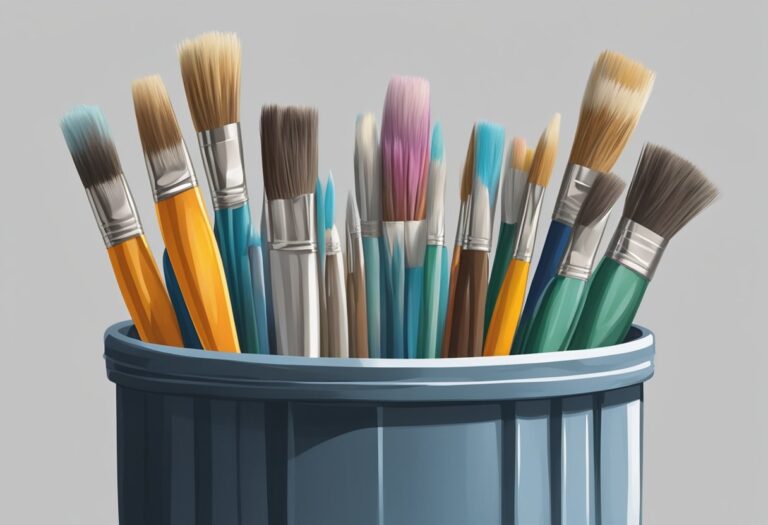
Paintbrushes are made with either natural or synthetic bristles. Natural bristles are usually made from animal hair, such as hog or sable. They are ideal for use with oil-based paints because they hold and spread the paint well. Synthetic bristles, on the other hand, are made from nylon or polyester and are better suited for water-based paints. They are also more durable and easier to clean than natural bristles.
When cleaning natural bristle brushes, it is important to avoid using hot water or harsh solvents such as turpentine or mineral spirits. These can damage the bristles and cause them to lose their shape. Instead, use a mild soap and warm water to gently clean the brush. Rinse thoroughly and reshape the bristles before allowing the brush to dry.
Synthetic bristle brushes can be cleaned with soap and warm water or a mild solvent such as rubbing alcohol. Rinse thoroughly and reshape the bristles before allowing the brush to dry.
Brush Shapes and Sizes
Paintbrushes come in a variety of shapes and sizes, each designed for a specific purpose. Flat brushes are ideal for large areas and for creating sharp edges. Round brushes are great for detail work and for creating curves and lines. Filbert brushes have a flat, oval-shaped tip that is ideal for blending and shading.
When choosing a brush size, consider the size of the area you will be painting and the level of detail required. A larger brush will cover more area more quickly, but may not be suitable for small details. A smaller brush will allow for more precise work, but may take longer to cover larger areas.
Regardless of the type of brush you use, it is important to properly clean it after each painting session to ensure its longevity and optimal performance.
Preparation for Cleaning
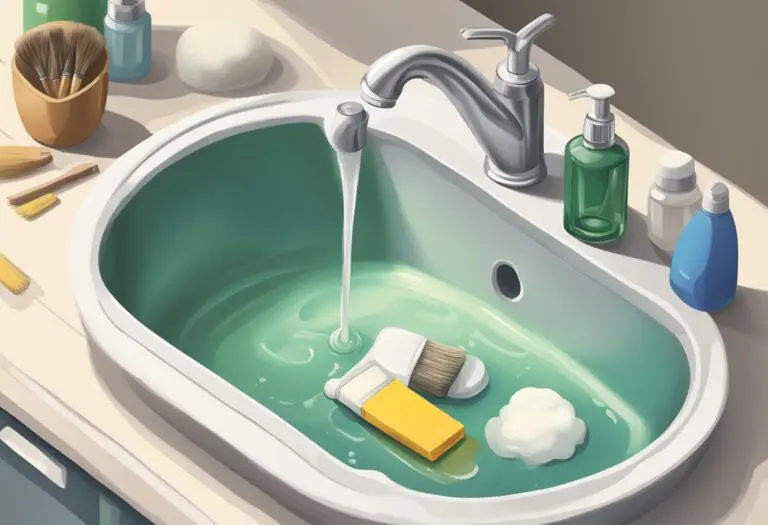
Properly cleaning paintbrushes after each painting session is essential to maintain their quality and longevity. Before starting the cleaning process, it is important to gather all the necessary supplies and prepare the workspace to avoid any mess. This section will cover the necessary preparations for cleaning paintbrushes.
Gathering Necessary Supplies
To clean paintbrushes, you will need the following supplies:
- A container or jar to hold the cleaning solution
- Mild soap or brush cleaner
- Warm water
- Paper towels or a clean cloth
- A brush comb or a wire brush
Make sure to use mild soap or brush cleaner instead of harsh chemicals that can damage the bristles. Also, avoid using hot water as it can cause the bristles to expand and lose their shape.
Initial Paint Removal
Before cleaning the paintbrushes, it is important to remove excess paint from the bristles. This can be done by wiping the brush on a paper towel or a clean cloth. If the paint has dried, you can use a brush comb or a wire brush to remove it. Be gentle while removing the paint to avoid damaging the bristles.
Once you have removed the excess paint, you can proceed with the cleaning process. Following these simple steps will ensure that your paintbrushes are properly cleaned and ready for the next painting session.
Step-by-Step Cleaning Process

To ensure the longevity of your paintbrushes, it is important to clean them properly after each painting session. Here is a step-by-step cleaning process that will help you maintain the quality of your brushes.
Solvent-Based Paints
If you are using solvent-based paints, follow these steps to clean your brushes:
- Use a rag to wipe off any excess paint from the brush.
- Fill a container with the appropriate solvent, such as mineral spirits or turpentine.
- Dip the brush into the solvent and swirl it around for a few seconds.
- Remove the brush from the solvent and wipe it on a rag to remove any excess solvent and paint.
- Repeat steps 3 and 4 until the brush is clean.
- Rinse the brush with soap and water to remove any remaining solvent.
- Dry the brush with a clean rag and reshape the bristles.
Water-Based Paints
If you are using water-based paints, follow these steps to clean your brushes:
- Use a rag to wipe off any excess paint from the brush.
- Rinse the brush under running water to remove as much paint as possible.
- Fill a container with warm, soapy water.
- Dip the brush into the soapy water and swirl it around for a few seconds.
- Remove the brush from the water and wipe it on a rag to remove any excess water and paint.
- Repeat steps 4 and 5 until the brush is clean.
- Rinse the brush under running water to remove any remaining soap.
- Dry the brush with a clean rag and reshape the bristles.
By following these simple steps, you can ensure that your paintbrushes stay in good condition and are ready to use for your next painting session.
Drying and Storage Techniques

Proper Drying Methods
After cleaning the paintbrushes, it is important to dry them properly to prevent damage and ensure longevity. One effective method is to gently squeeze out excess water from the bristles using a clean cloth or paper towel. Make sure to reshape the bristles to their original form and lay the brush flat on a clean surface to dry. Hanging the brush upside down can cause the bristles to bend and lose their shape.
Another technique is to use a brush holder or a drying rack to keep the brushes in an upright position while drying. This helps to prevent the bristles from touching any surfaces and allows air to circulate around them, promoting faster drying.
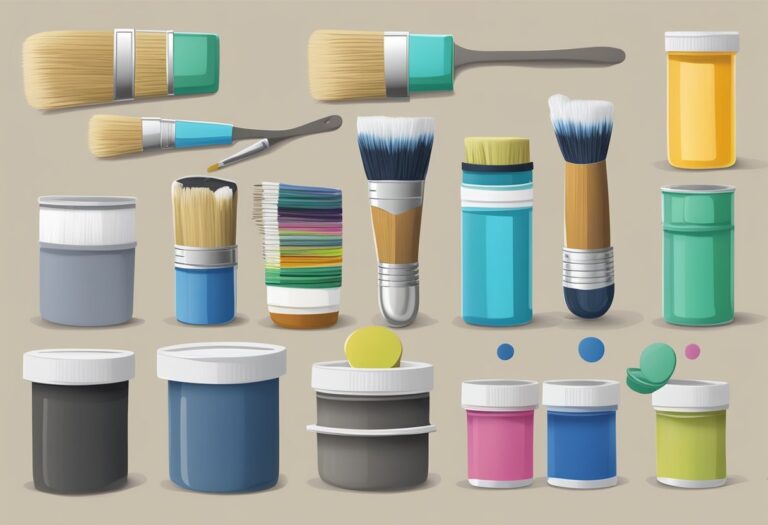
Storing Brushes for Longevity
Proper storage of paintbrushes is crucial to maintain their shape and quality. Once the brushes are completely dry, store them in a clean and dry container or brush holder. It is recommended to keep each brush in an individual sleeve or cover to avoid any damage or contamination.
Avoid storing brushes with the bristles facing down or in a tightly packed container, as this can cause the bristles to bend and lose their shape. Instead, store them in a standing position with the bristles facing up to prevent any deformation.
By following these proper drying and storage techniques, artists can ensure that their paintbrushes remain in good condition and provide excellent results for years to come.